 The Third Bear
If you’re using ActionKit’s built-in donation processing, it’s easy to give your sustainers self-service tools to change their donation amount, update their payment method, or cancel their donation.
This can save your staffers a lot of time otherwise spent logging in to edit donors’ details from the backend. Instead, they’ll only need to use the back end donation management interfaces when a donor requires a full or partial refund.
These tools are available out of the box, though you’ll likely want to do at least a bit of work making sure that your branding is applied consistently in the templates that end users will see.
Beyond that, you can incrementally build out lightweight improvements with template code to significantly streamline donors’ experiences and offer feature-rich dashboards.
Note: this only applies if you process donations directly through ActionKit using one of its supported payment backends. If you’re using ActBlue for your fundraising, your donors won’t be able to self-manage their ActBlue donations as described in this post, even if you have ActionKit’s ActBlue integration set up. That said, there’s still a lot you can do even if you’re processing donations with ActBlue or other external tools — we have thoughts, and we’ll write them up soon!
Sign up for our always-free newsletter for more helpful guides:
What’s included out of the box
ActionKit provides two page types that you can set up for donors to manage and cancel their donations: “Update Recurring Donation” and “Cancel Recurring Donation.”
If you set up an “Update Recurring Donation” page, your donors can view all of their active recurring donations on a single screen. From that same screen, they can change their donation amount or update their payment details for any of their active donations.1

(Note that donors cannot switch from one payment method to another — for example, they can’t switch a credit card donation to an ACH payment. But they can update their credit card for an existing card donation, or update an ACH donation’s bank details.)
If you set up a “Cancel Recurring Donation” page, your donors can also cancel their own recurring donation.
Accessing these pages requires a login (but more below on ways around this) — they won’t just recognize users with an AKID parameter in the same way that your petition pages would.
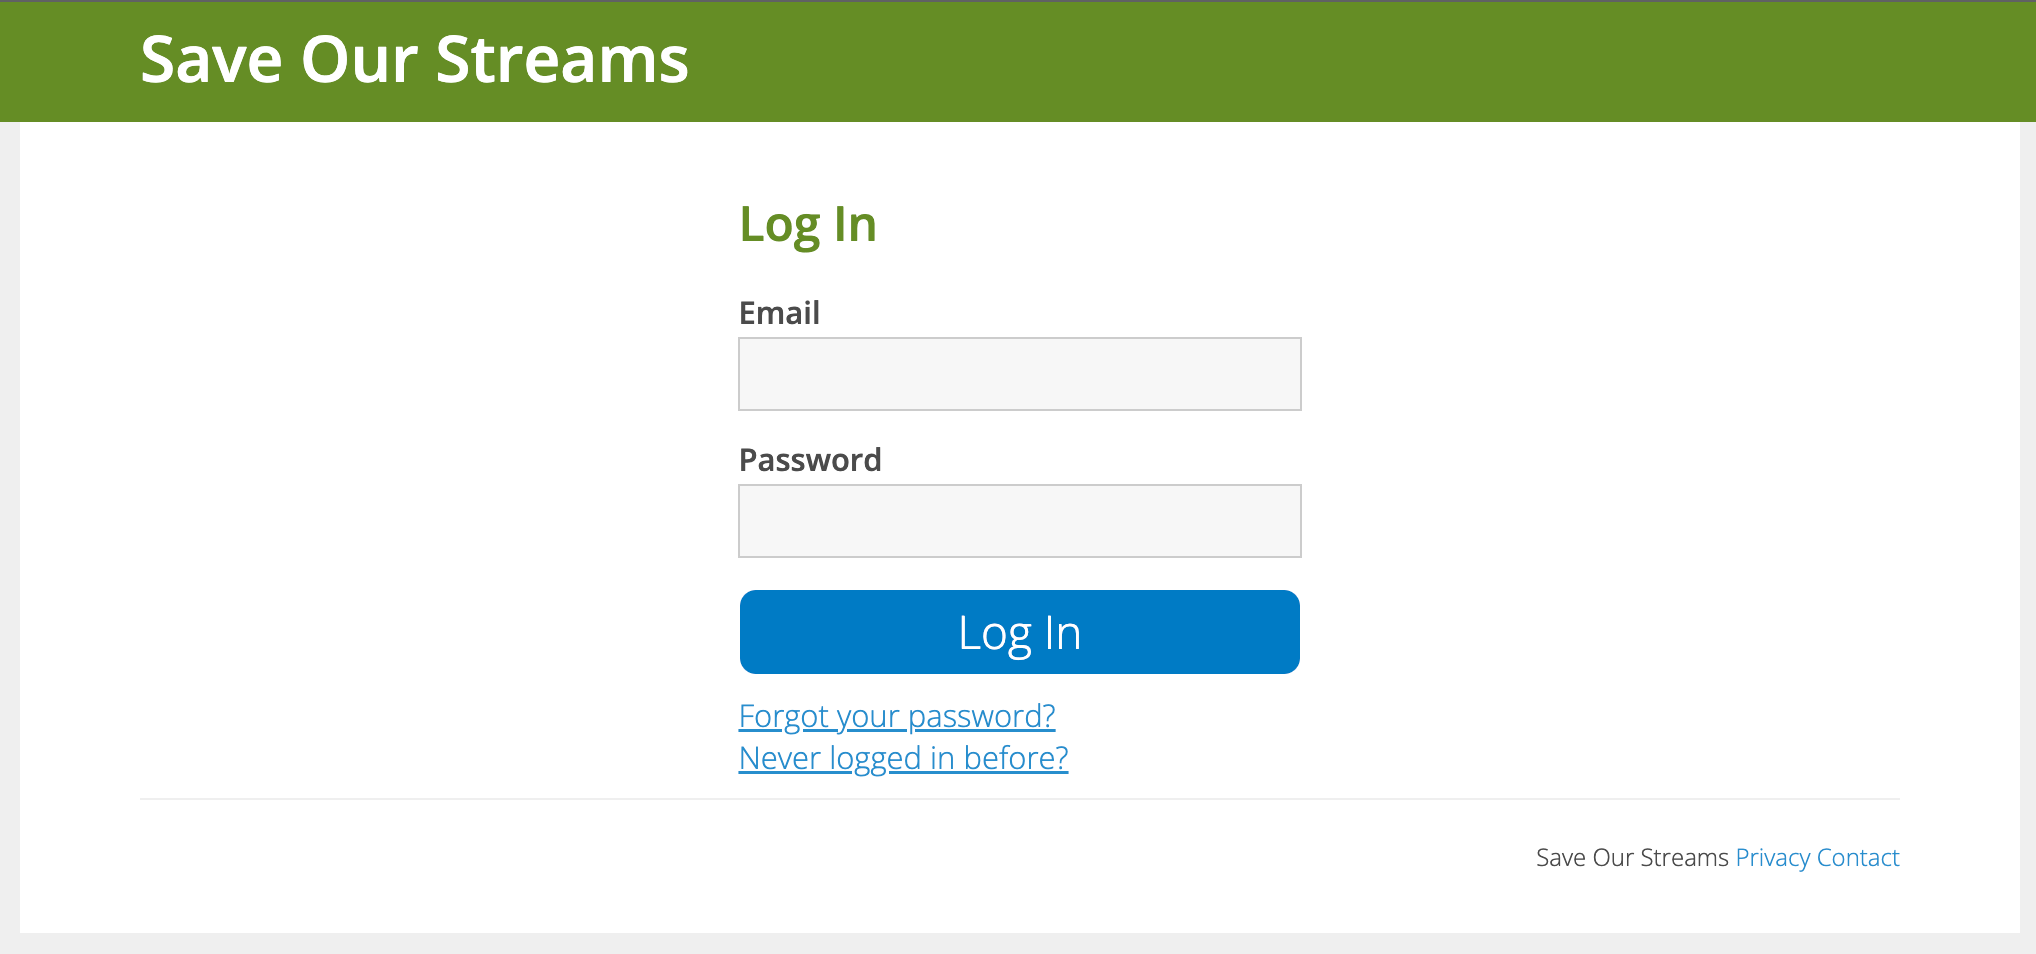
To create an account and log in, your donors can be directed to the site-wide “Login” screen which provides a way for first-time users to set a password on their account. They can then log in at any time and manage their recurring donations.
Upon logging in, donors will first be taken to a special site-wide “Account” screen which displays their personal information, provides a link to a “Update Personal Information” screen, lists all of their completed donations, and provides a link to the “Update Recurring Donation” screen described above.
Before rolling out this functionality to your donors, you should preview the screens and edit your templateset as needed to make sure that the layout looks good and your brand is consistently applied. This will involve editing the following template files: recurring_donation_update.html, recurring_donation_cancel.html, user_view.html (for the “Account” screen), user_update.html (for the “Update Personal Information” screen), and login.html.
There are several other login-related screens you’ll want to review too, with associated templates logout.html, password.html, and reset.html; and, lastly, there’s a reset_password_email.html template that controls the content that’s mailed to users when they trigger a password reset for a new or existing account.
We can streamline this!
This is all a bit clunky. It’s a lot of screens for donors to navigate — and a lot for you to style & test.
Worse, it forces donors to remember yet another password for an account that they’ll only use very rarely.
If donors need to recall whether they’ve already created an account, check their email, click a link, (re)set a password, and then fill in a login form just to update a credit card … they won’t. They’ll probably just email you instead, or let their donation lapse.
Fortunately, the user experience can be streamlined a lot:
-
The “Update Personal Information” screen is a bit of a distraction. Donors don’t need to see this screen if they’re coming in to update their payment details — and in general it doesn’t really add anything that isn’t already provided by a standard signup or survey page for users without a login. (In fact, it’s arguably a step backwards from those page types, since no action is recorded to track the fact that the user updated their personal information.) In the user_view.html template code, you can just remove this link if you want.
-
In fact, the “Account” screen is unnecessary too. Since the “Update Recurring Donation” screen lists all active recurring donations, there’s no need to have a separate index page listing & linking to your donations. If you want to get rid of this screen, you could edit user_view.html to redirect all traffic to your “Update Recurring Donation” page and save donors some clicks.
-
And perhaps most impactful: we can skip the account creation and login steps altogether, by setting up passwordless login with magic links.
Skip passwords with magic links
Passwordless logins, also known as2 magic links, let users log in to your systems without ever setting or remembering a password at all. Instead, they just fill in their email address, check their inbox, and click on a link to get logged in immediately. For added security, these login links are always temporary — they typically expire if not used within a few minutes or hours. In some systems they’re also single-use, so if you click the login link once and then try to click it again on a different computer a few minutes later, you’ll be told that you need to request another.
Magic links have been around forever in some form or another (think password reset emails) but are used by a number of popular systems these days (like Substack) either as the only login method or as an option for end users to choose.
ActionKit makes it easy to use magic links instead of passwords. You can send your users a magic link in any after-action email, recurring mailing, or blast mailing with this template code:
https://act.yourdomain.org/login/?next=/pledge/update/update/&i={{ user|login_string:600 }}&l=1
When a donor clicks on the resulting link, they will land directly on the “Update Recurring Donation” screen without ever needing to create an account, set a password, or submit a login form.
That template code contains four important components:
-
{{ user|login_string:600 }}generates a temporary token that can be used to log the user in. The “600” tells ActionKit to generate a token that’s only valid for ten minutes (600 seconds) — if you don’t include this, the token will be valid for thirty days. We recommend using a much shorter expiration than the default. -
&i=puts that temporary token in a query string parameter “i” which is where ActionKit looks for the token. -
&l=1tells ActionKit to skip any password creation prompts. Otherwise, users might still land on a page where they’re forced to set a password. We don’t want that! -
?next=/pledge/update/update/tells ActionKit where to redirect users after they’ve logged in successfully: your “Update Recurring Donation” screen.3 Since you’re using the&iand&lparameters to skip password-based login altogether, users will be immediately redirected to that page!
Where should I put the magic link?
First of all, never generate magic links directly in page template code. You should only ever send magic links via email, or other channels that you’re reasonably confident are at least as private and secure.
We recommend directing users to manage their donation in a few places:
-
In your donate pages’ after-action emails. Add a conditional to check if it’s a recurring donation, and if so, tell new recurring donors that they can bookmark this link to update their donation at any time.
-
In your recurring mailings for recently failed recurring donations. Add a big “update your payment method” button with the same link.
-
In your recurring mailings for recently completed successful recurring donations. Add a little “(want to change your gift amount?)” link somewhere in the email.
-
In any end-of-year tax-deductible donation summary emails, quarterly giving summaries, or messages tied in with election filing deadlines & end-of-cycle contribution limits. Add a conditional to check if the recipient has an active recurring donation and include a button prompting them to increase their gift amount if possible.
-
On your website’s Donor FAQ section.
-
In your info@ inbox’s autoresponder.
Of course, you can’t actually put your magic link in any of these places! Since the magic link will only be valid for a few minutes, you can’t tell donors to bookmark it. And since you don’t know how quickly after sending your donors will open your mailing, you can’t put in the link at all — it will probably already be expired before they ever see it.
Instead, all of these emails should link to a page where users can generate their own magic link on demand, whenever they need one.
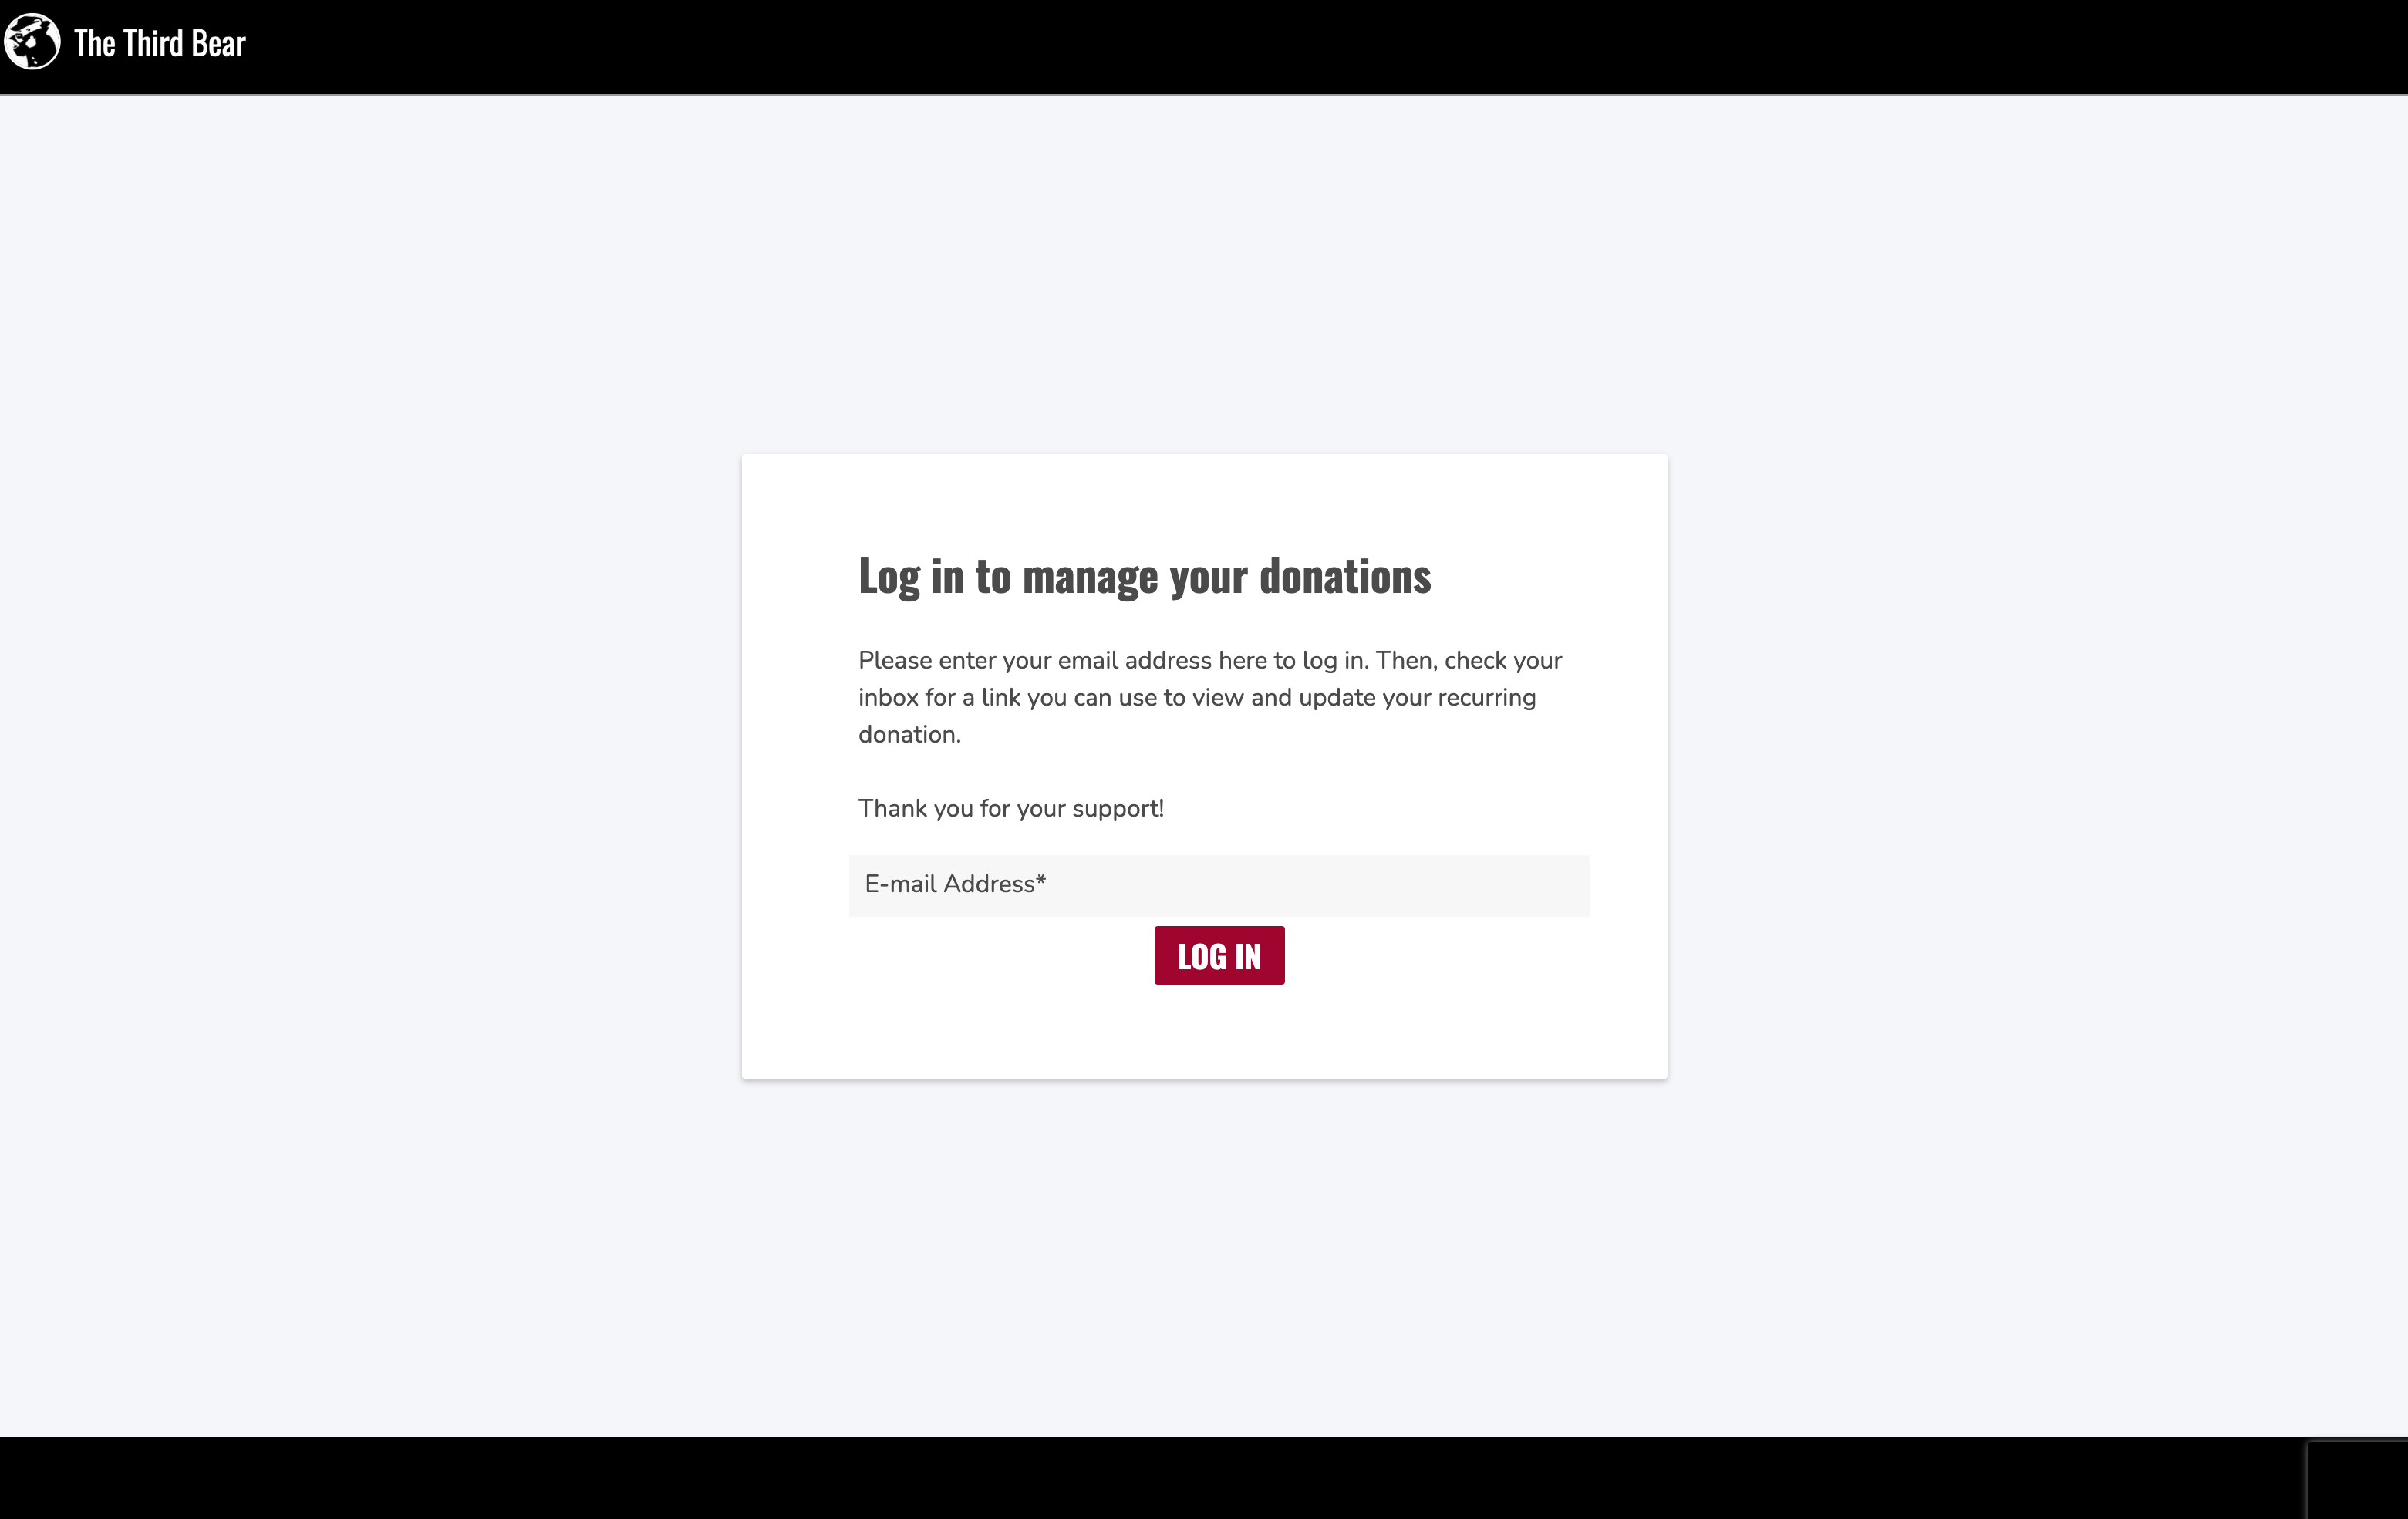
To set this up, just create any regular ActionKit page — a signup page is fine — and customize its after-action email to include the magic link template code described above.
If you want, you can strip out all user form requirements besides an email address, add a hidden require_opt_in=1 field so that no one is ever newly opted in from this page, and add some CSS customizations to give the page a single-column layout with a centered form. At that point, your page will look, feel, and behave exactly like a login screen.
Single sign on
If you already have another system where you’re maintaining member details and providing password-based logins — like a WordPress site — you can also integrate ActionKit login tokens and skip the email-based magic links altogether. This is possible because ActionKit offers a logintoken API endpoint that does the same thing as the user|login_string template filter.4
If you’re taking this approach, then your setup will look a little different:
-
You don’t need a dedicated signup page with an after-action email containing magic links.
-
Instead, you’ll just tell your members to log in to their existing account on your other system whenever they need to manage donations.
-
In that other system, build a backend function that takes the logged-in user, identifies their associated ActionKit user account (by email, ID, some custom user field, or however else you’re choosing to link the accounts’ identities), and makes a POST request to the ActionKit REST API to generate a login token.
-
That function should then respond with an HTTP redirect to an ActionKit login URL with those same
?next,&iand&lparameters as above. -
Provide a button somewhere in your system’s interface for logged in users which just calls that backend function and redirects the user to the resulting location.
-
In this case, you’ll probably want to use a very short token expiry — like thirty seconds — since you’ll be generating them on demand and following links immediately, without even waiting for an email to be delivered and opened.
Again, this works anywhere — as long as you’re confident that your users are who they say they are, that they’ve logged in to something securely, and that you have enough personally identifying information recorded to associate them reliably with an ActionKit profile.
For example, if you have a private Slack community for members, you could add a slackbot with a private messaging command that returns a link good for the next five minutes. Or integrate it into your SMS platform with a keyword trigger. You can get creative here!
-
For many years I thought donors need to go to a separate screen for each donation they want to manage, and that you need to set up a distinct “Update Recurring Donation” page for every distinct payment account, currency, and method that you’re using — more or less pairing every donate page with its own donation update page. Nope! You can do it all from a single page. ↩︎
-
Depending on who you ask, magic links and passwordless login may mean slightly different things. Some people call it a magic link only if it allows you to become magically logged in on an existing tab without reloading the page — e.g. if you are able to go to a login screen on your computer, fill in your email, check your inbox on your phone and click the link, and then get magically logged in on your computer without ever leaving the login tab. ActionKit doesn’t provide this latter functionality, but we’ll call them magic links anyway. ↩︎
-
The
/pledge/update/part indicates that you’re pointing at an “Update Recurring Donation” page type (similar to/sign/for petition pages,/donate/for donation pages,/survey/for survey pages, and so on) and the final/update/part is the actual short name of your specific “Update Recurring Donation” page. ActionKit has created one of these named “update” for you, but you can create as many as you want with whatever names you want. ↩︎ -
That’s actually where this whole feature came from. In 2012 I was building a custom standalone application for someone who wanted to integrate logins with ActionKit. Twenty days after I filed a feature request to help make that possible, they launched a new XML-RPC function. Thanks, Patrick and Randall! I believe the template filter came a few years later. ↩︎